Last updated June 23, 2026
This article covers migrating to Essential and classic Postgres plans (Standard, Premium, Private, and Shield), and doesn’t apply to Heroku Postgres Advanced (Limited GA) databases.
In this guide, we walk you through the process of migrating your Postgres database from Render PostgreSQL to Heroku Postgres with a dump and restore strategy. This guide uses a Render web service with MinIO deployed to store the database dump file. Before starting the migration, make sure you completed the steps from Preparing Your Migration to Heroku Postgres.
Check Your Database Size
With a Render-managed Postgres database, there are multiple ways to determine your database size. When you select your database through the Render dashboard, you see its general information including Storage size.
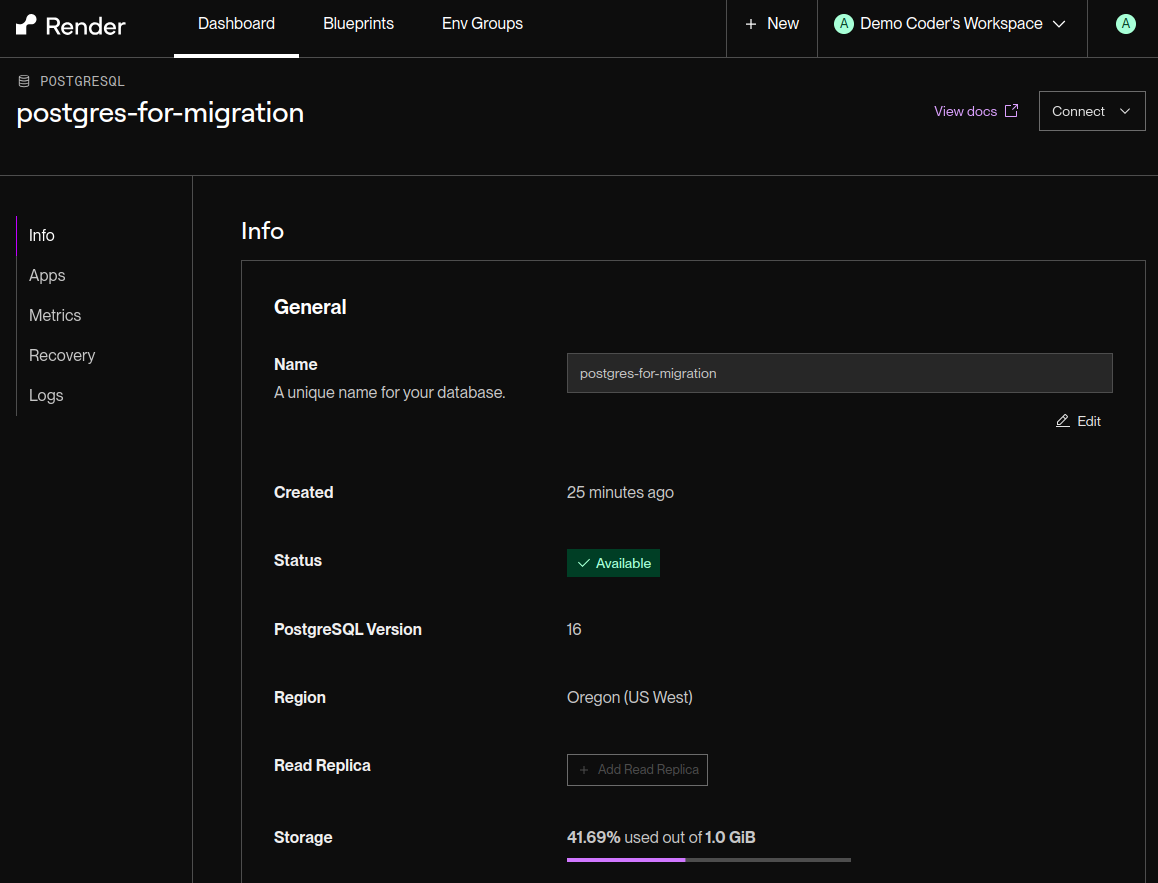
In the example, the storage is 41.69% of 1 GB, or approximately 450 MB. However, this number includes all storage for the system running on your managed instance, including system files, installations, and more. So, the actual database size is only a fraction of this number.
Usually, the dump and restore strategy for migration is suitable if your database size is less than 100 GB.
For a more accurate size reading, connect to your database instance and use the list databases \l+ command. You can find the Postgres credentials for your database in the Connections section on the database information page.
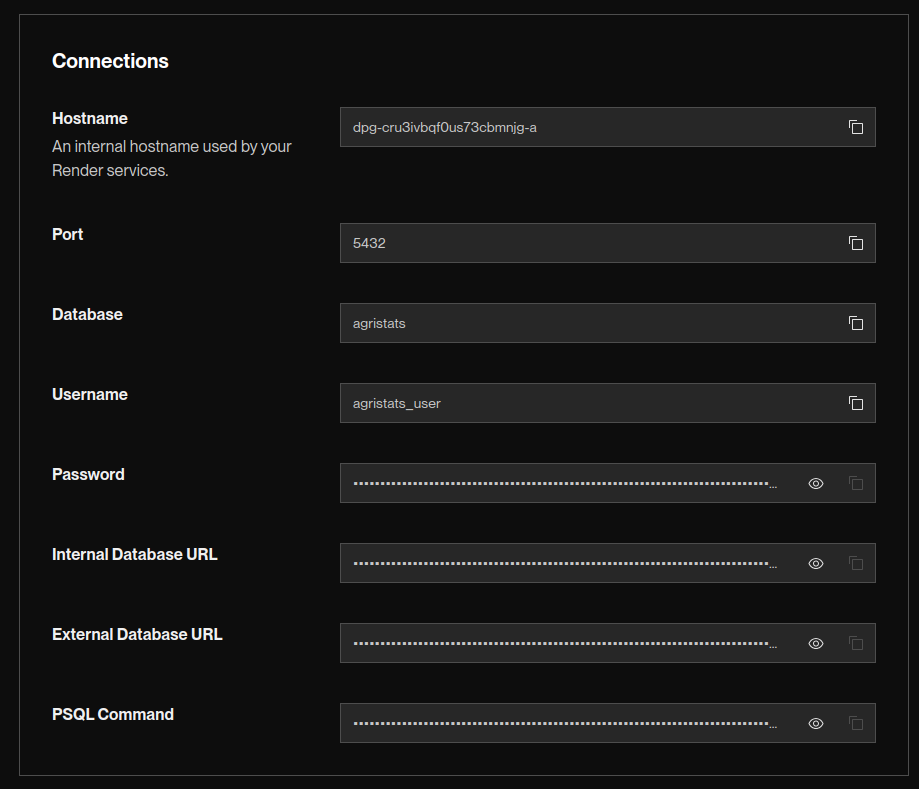
Show and copy the External Database URL for the entire Postgres connection string. The connection string for using the psql client uses the format:
postgres://DB_USERNAME:DB_PASSWORD@DB_HOST:DB_PORT/DB_NAME
Our example database is called agristats, so we connect our database to the psql client with:
$ psql postgresql://agristats_user:this-is-my-password@dpg-cru3ivbqf0us73cbmnjg-a/agristats
After connecting, you can show the database size with the list databases \l+ command:
$ psql=> \l+

                        List of databases
    Name        | Owner     | Encoding |   Collate   | Size   |
----------------+-----------+----------+-------------+--------+
 agristats      | democoder | UTF8     | en_US.UTF-8 | 371 MB |
The Size column shows our database size is 371 MB.
See Choosing the Right Heroku Postgres Plan for which Heroku Postgres plan fits your database size.
Create and Upload the Database Dump
Before starting, either set your system to read-only mode, or bring all your dependent services offline and notify end users of the current maintenance status.
If your database is attached to a Heroku app, put your app in maintenance mode and downscale any worker dynos that connect to the database.
Back Up Your Database
Before performing the migration, make sure you have a recent backup of your database on Render. Backups are available for all non-free managed Postgres plans at Render. Navigate to the Recovery page for your database, and click Trigger Backup.

Dump the Database to a Local File
Using pg_dump, create a logical backup of your Render database to a local file:
$ pg_dump postgres://DB_USERNAME:DB_PASSWORD@DB_HOST:DB_PORT/DB_NAME \
    -Fc -b -v \
    -f /tmp/data-for-migration.sql
The time it takes to run this command varies depending on the size of your database.
Upload the File to a Cloud Object Storage
Heroku can restore Postgres logical backups that are accessible via a URL. For this migration from Render, upload your data backup file to any S3-compatible bucket. If you use object storage through Render, you most likely use their quickstart deployment of MinIO.
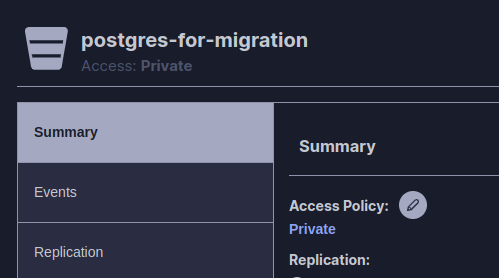
First, create a bucket. In our example, we named our bucket postgres-for-migration.

For security, make sure to set the access policy for your bucket to Private.
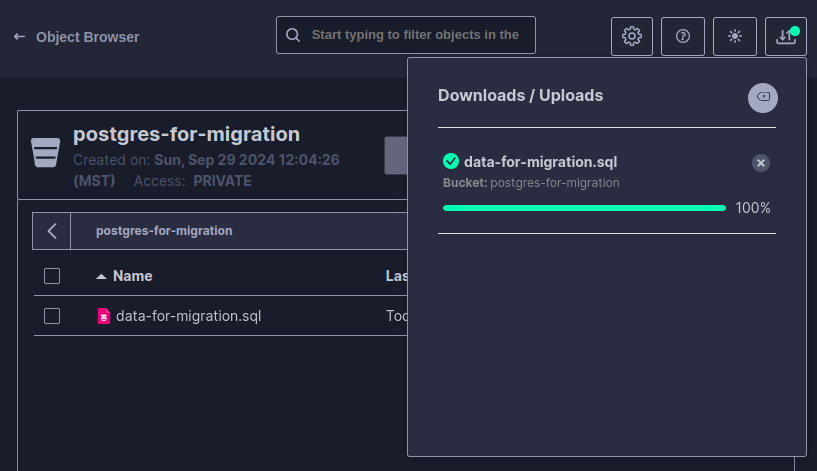
In addition, make sure your bucket uses proper encryption. After creating your bucket in MinIO, upload the /tmp/data-for-migration.sql backup file that you created in the Dump the Database to a Local File step.
Restore to Heroku Postgres
Create a Heroku App
If you already have your app running on Heroku, you can skip this step.
Use the Heroku CLI to log into your Heroku account.
$ heroku login
Next, create a Heroku app and provide a name for it, such as postgres-migration-from-render.
$ heroku apps:create psql-migration-from-render
Creating ⬢ psql-migration-from-render... done
Provision a Heroku Postgres Add-on
After creating your Heroku app, add the Heroku Postgres add-on with an appropriate plan.
Based on the database information from Check Your Database Size, we use the essential-1 Heroku Postgres plan.
$ heroku addons:create \
    --app psql-migration-from-render \
    heroku-postgresql:essential-1
Creating heroku-postgresql:essential-1 on ⬢ psql-migration-from-render... ~$0.013/hour (max $9/month)
Database should be available soon
postgresql-concave-88513 is being created in the background. The app will restart when complete...
Use heroku addons:info postgresql-concave-88513 to check creation progress
Use heroku addons:docs heroku-postgresql to view documentation
Heroku begins provisioning a Postgres database for your Heroku app, providing a unique add-on name. Within a few minutes, you can run the following command with the database name to see the created database.
$ heroku addons:info postgresql-concave-88513
=== postgresql-concave-88513

Plan:         heroku-postgresql:essential-1
Price:        ~$0.013/hour
Max Price:    $9/month
Attachments:  ⬢ psql-migration-from-render::DATABASE
Owning app:   ⬢ psql-migration-from-render
Installed at: Tue May 19 2026 15:29:01 GMT+0000 (Coordinated Universal Time)
State:        created
Get the Signed URL For the Backup File in MinIO
Next, restore your pg_dump backup to your new Heroku Postgres database. To restore, you need a URL that points to your backup file. The bucket you created in MinIO isn’t public, but you can generate a temporary URL that points to your uploaded file. From your file actions, click Share.
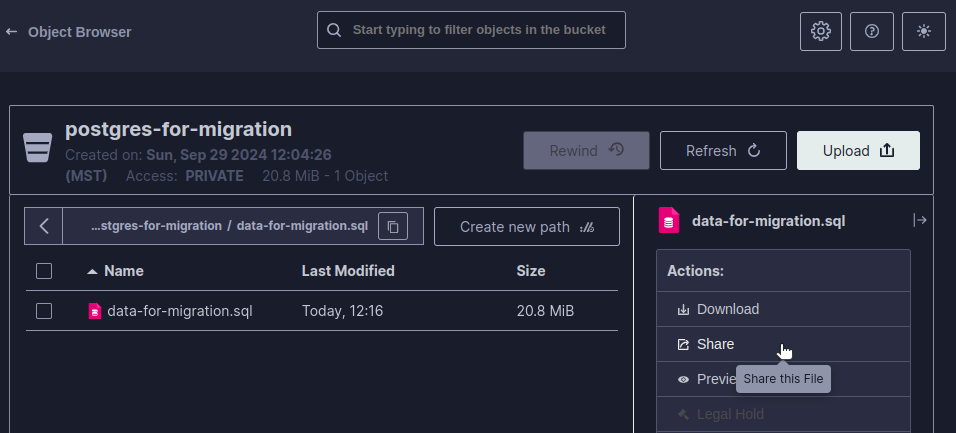
This button opens a dialog where you can set the expiration time of the generated share link. Configure the share link with a reasonable expiration time, such as 5-15 minutes, depending on your backup size. Then, click on the icon at the bottom of the dialog to copy the share URL.
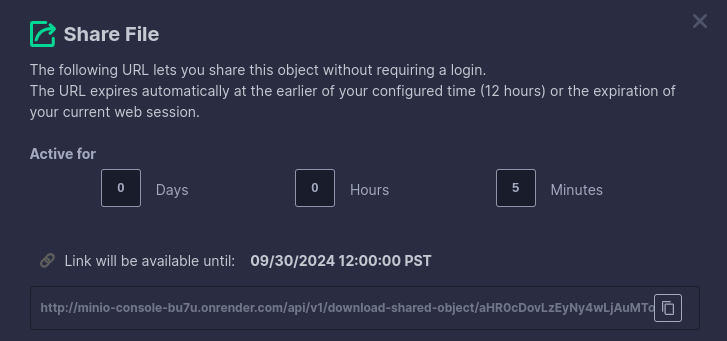
In our example, the signed URL for our database dump file is similar to:
http://minio-console-bu7u.onrender.com/api/v1/download-shared-object/aHR0cDovLzEyNy4wLjAuMTo5MDAwL3Bvc3RncmVzLWZvci1taWdyYXRpb24vZGF0YS1mb3ItbWlncm…
The link generated in MinIO can show HTTP rather than HTTPS. The format depends on your MinIO setup at Render. Restoring a database in Heroku via a plaintext URL isn’t supported. However, manually changing the URL to use HTTPS addresses this issue.
The presigned URL grants temporary access to your database dump. Use a short expiration time appropriate for your restore duration, and delete the dump file from MiniIO after migration completes.
Restore Backup on Heroku
Now that you have the presigned URL, use the Heroku pg:backups:restore command to restore your backup into your new Heroku Postgres database.
Use the heroku pg:backups:restore command and provide the presigned S3 URL for your backup in quotes, and the add-on name to restore your database to:
$ heroku pg:backups:restore 'MINIO-FILE-URL-IN-QUOTES' postgresql-concave-88513 \
    --app psql-migration-from-render \
    --confirm psql-migration-from-render

Use Ctrl-C at any time to stop monitoring progress; the backup will continue restoring.
Use heroku pg:backups to check progress.
Stop a running restore with heroku pg:backups:cancel.

Starting restore of [MINIO-FILE-URL] to postgresql-concave-88513... done
Restoring... done
Keep in mind with this command:
- When you paste in your MinIO-signed URL, make sure to contain it within quotes.
- Provide the
--appargument to tell Heroku which app and corresponding database you want to operate on. - This command is destructive, requiring you to confirm it. If you don’t provide the
--confirmargument, you’re asked to confirm the action before continuing. - The restore process automatically reassigns ownership of all schemas and tables to the default Heroku credential. The command doesn’t import roles from the source Render database because the default Heroku database role doesn’t have permission to create Postgres roles.
- Make sure that all the extensions used in your Render database are supported on Heroku Postgres.
Migrate Any Custom Settings
Just as you saved your Render database configurations to a file called /tmp/settings_postgres.csv, you can do the same for your Heroku Postgres configuration with the command:
$ heroku pg:psql --app psql-migration-from-render \
    -c "\copy (select * from pg_settings) to '/tmp/settings_heroku.csv' with (format csv, header true);"
Compare your Heroku Postgres settings with your Render Postgres settings. Find any configurations from your Render Postgres setup and reapply them to your Heroku Postgres instance.
Testing and Verifying a Successful Migration
We recommend testing to verify that data has migrated over successfully. Testing can include:
- Comparing table counts between the two databases.
- Comparing row counts for every table between the two databases.
- Comparing query results between the two databases.
- Running various acceptance tests on your new database to validate proper behavior and performance.
- Running the
heroku pg:backups:infocommand to review the logs of your backup restore.
Connecting Existing Apps and Services
After verifying that the database migration was successful, point your existing apps and services to the new database.
Get Heroku Postgres Credentials
When you create the Heroku Postgres add-on, Heroku automatically configures a new environment variable called DATABASE_URL, which contains the connection string for the new database. Run the heroku config:get command to fetch the value of the config var:
$ heroku config:get DATABASE_URL --app psql-migration-from-render

postgres://ue1eskibf1ind1:p4419f541f3383454eb1e4f2545ed7b7a42634e818a0c77de41f344435ca6812a@cenqjqs4iipva2.cluster-czrs8kj4isg7.us-east-1.rds.amazonaws.com:5432/d9kk4avcoh8j38
You can also find your credentials with the heroku:pg:credentials command.
The Postgres connection string follows this format, so that you can parse the individual pieces:
postgres://DB_USERNAME:DB_PASSWORD@DB_HOST:DB_PORT/DB_NAME
Alternatively, you can obtain the connection string of your database through the dashboard.
Update Dependent Systems and Test
Update your existing systems to point to the Heroku Postgres database using its connection string. Test each system to make sure the connection is successful.
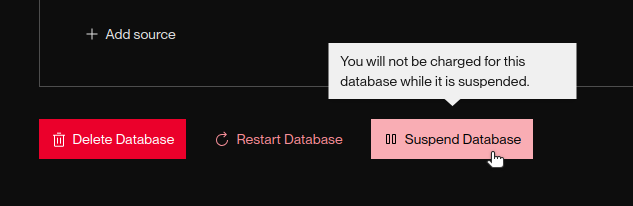
Now, you can also suspend your Render database. Navigate to the bottom of your database info page at Render, and click Suspend Database.
Wrap-up
Now that your apps and services are pointing to Heroku Postgres and running as expected, you can close the maintenance window and restore full availability to your end users.
When you’re confident that the migration is successful and you no longer need your Render database, you can delete it completely.
With your migration complete, you can now enjoy the flexibility and low-cost convenience of Heroku Postgres. See our Heroku Postgres documentation for more information on using your database.